
16447
 I have developed Ethereum smart contracts myself before, but I did not properly record the development process and problems encountered, which is a pity. This time I want to start over, starting from the stupidest posture and growing up step by step.
Practical combat | Coach, I "only" want to learn Solidity. This article also uses Remix and MetaMask to deploy contracts to the test network. I already know this article and I should be able to end it directly. This article describes in more detail the steps to use Remix and the problems you may encounter during its use. development environmentNo installation required, just open Remix in any browser. Remix is an Open Source Solidity smart contract development environment that provides basic functions such as compilation, deployment to local or test networks, and contract execution. Solidity is a programming language officially designed and supported by Ethereum, specifically used for writing smart contracts. 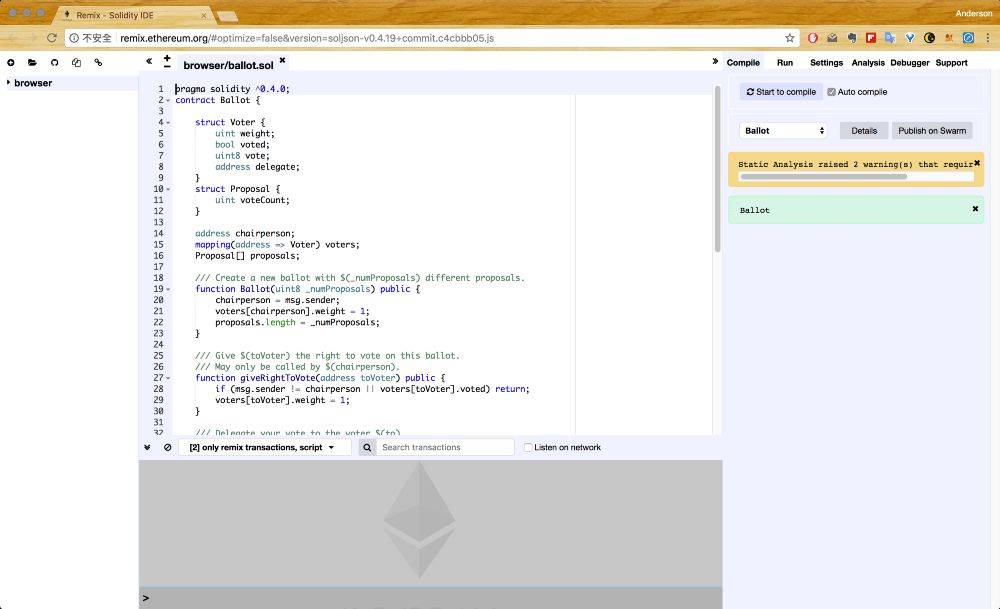 -Remix- Get token contractThere are many examples of token contracts. The Ethereum official website provides a minimum viable token contract (MINIMUM VIABLE TOKEN): pragma solidity ^0.4.0;contract MyToken {/* This creates an array with all balances */ mapping (address => uint256) public balanceOf; /* Initializes contract with initial supply tokens to the creator of the contract */ function MyToken(uint256 initialSupply) public { balanceOf[msg.sender] = initialSupply; // Give the creator all initial tokens } /* Send coins */ function transfer(address _to, uint256 _value) public { require(balanceOf[msg.sender] >= _value); // Check if the sender has enough require(balanceOf[_to] + _value >= balanceOf[_to]); // Check for overflows balanceOf[msg.sender] -= _value; // Subtract from the sender balanceOf[_to] += _value; // Add the same to the recipient }}This MyToken contract is really stupid and can only do two things:
As for a complete token contract, please refer to the ERC20 Token User Manual. Compile the contract using Remix1. Click + in the upper right corner to add a fileThe name can be arbitrary as long as the extension is ".sol". 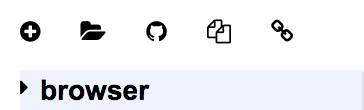 2. Copy the contract content to the file and compile itRemix will automatically compile by default. If no red ERROR pops up next to it, it means the compilation is successful. 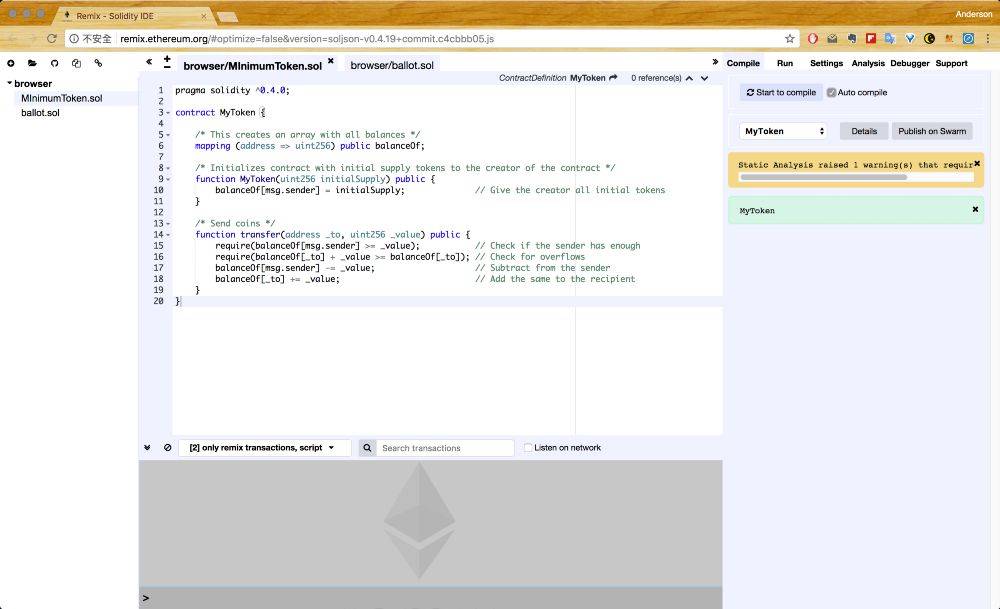 -Contract compiled successfully- Deploy the contract locally1. Set up the networkClick run on the top left.  -Run- Environment Select JavaScript VM to mean that all data is stored in local memory (similar to testrpc in function). It will provide 5 virtual accounts with 100ETH each, choose any account (remember). 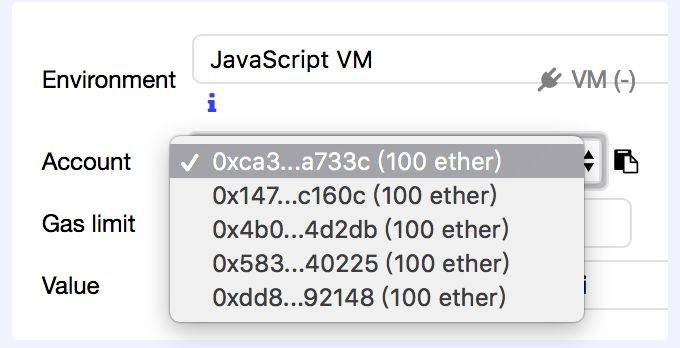 -Testing Account- 2.Send transaction deployment contractSelect MyToken. You can see the create button. And it has been shown that it must be filled in according to the contract content. initialSupply (i.e. the number of tokens to be issued). Enter an amount and press create, and a transaction will be sent to deploy the contract. 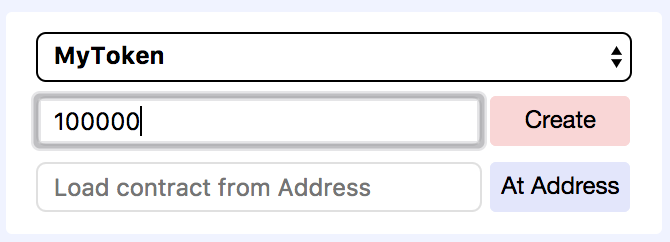 -Create- After the contract is deployed successfully, you can see the usage interface of the contract. Remix will automatically generate the corresponding contract usage interface based on the contract content. You can see that the contract has two functions: balanceOf (query balance) and transfer (transfer token). 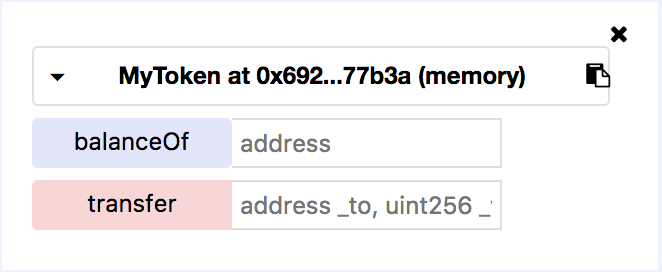 -Contract interface- You can see the log below (recording each operation). In fact, the deployment of the contract is completed through an Ethereum transaction. Click Details to see the detailed data of the transaction.  -Log- Execute contract - check balance1. Select the account that just initiated the contract -You can click the icon to the right of the account to copy- 2. Enter accountPay attention to wrap the account with "", example: "0xca35b7d915458ef540ade6068dfe2f44e8fa733c"3. Click balanceOfYou can see the execution result next to it, which is the current token balance of this account. 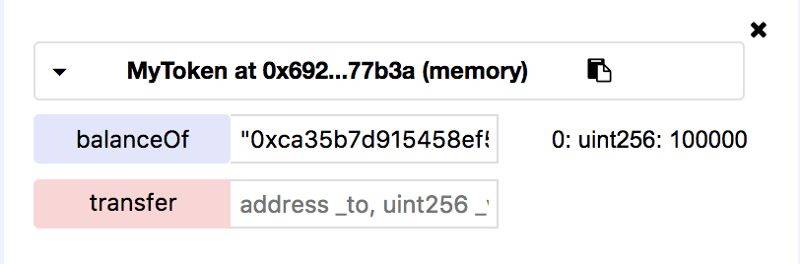 -Balance query successful- error conditionTo explain, because the data transmission is in JSON format, "" must be added. If you forget to enter "", you will see an error in the log:  -JSON parameter format error- Execute contract — transfer tokens1. Select the account to be transferred outSelect the account that just initiated the contract.  -You can click the icon to the right of the account to copy- 2. Enter the account to be transferred toSelect and copy another account. In the field after the contract interface transfer, enter the transfer account and the number of tokens to be transferred. The account is also wrapped with "", example: "0x4b0897b0513fdc7c541b6d9d7e929c4e5364d2db",103. Click transferClick transfer, and you will see the log update after success.  -Transaction execution success log- 4. Confirm balance updateThen check the balance of the transferred account, and you can see that the token balance has increased! 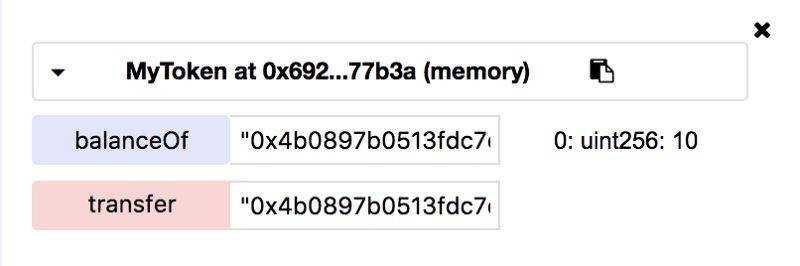 -Transferred account balance increases- error conditionIf the account you choose to transfer out has insufficient token balance, the transaction will fail and you will see an error in the log.  -Transaction execution failure log- Deploy the contract on the test network1.Install MetaMaskFirst, to connect to the test network, you need to install MetaMask. It is a browser-side Ethereum wallet that can connect to the Ethereum main and test networks. You need to create an Ethereum account after installing it. Coach, I "only" want to learn Solidity. This article has detailed steps. 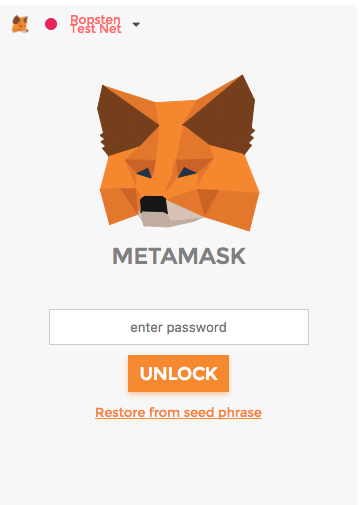 -MetaMask- 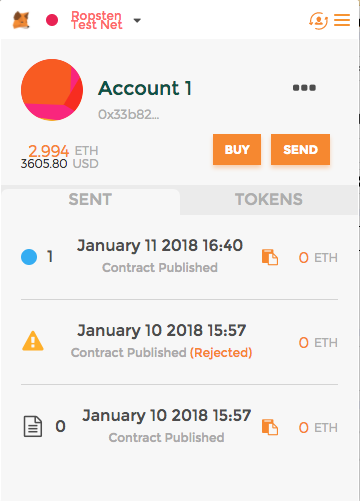 -After successfully opening, it should look like this- 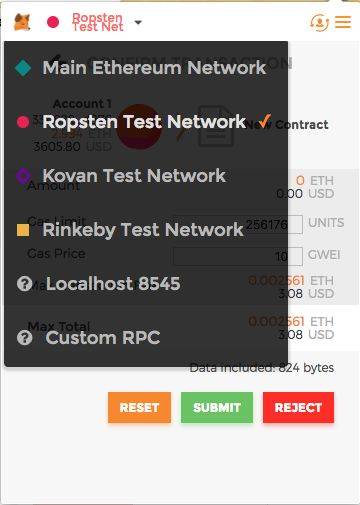 -Remember to select RopstenTest Net- 2. Select a test networkBack to Remix, this time select Injected Web3 for Environment, and Remix will automatically connect to MetaMask. 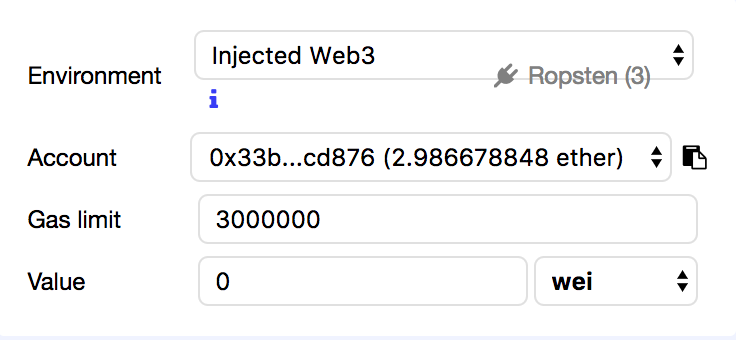 -If successful, you will see the same account and Ether balance as MetaMask.- 3. Deploy the contractThen use the same method as before, press create to deploy the contract, and you will see the MetaMask pop-up window. Simply press submit to send the transaction. 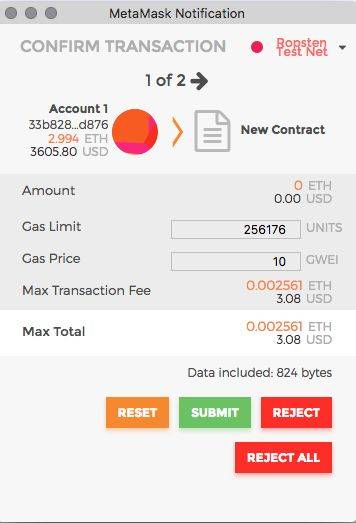 -Send transactions using MetaMask- Wait a moment (because you need to wait for the transaction to be confirmed), and the contract usage interface will come out after the deployment is successful. 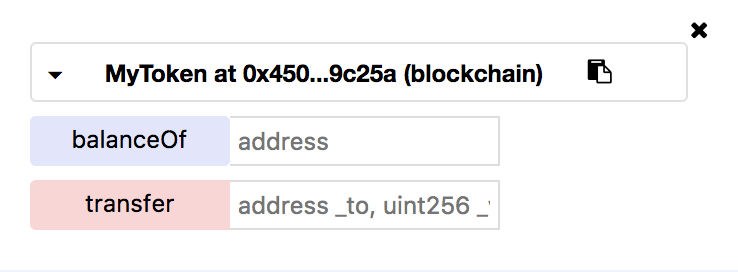 -The contract interface is of course the same length- You can use the contract in the same way! SummarizeRemix provides a Solidity smart contract development environment that can easily compile, deploy, execute and even debug, making it suitable for beginners with little programming experience. However, version control, testing, and use with other development tools are not possible, which makes it more inconvenient to actually develop DApp. The next article will refer to the following articles:
Use Truffle3, Ganache, and web3.js to compile and deploy contracts. 原文链接: https://medium.com/taipei-ethereum-meetup/ethereum-%E6%99%BA%E8%83%BD%E5%90%88%E7%B4%84%E9%96%8B%E7%99%BC%E7%AD%86%E8%A8%98-%E7%B7%A8%E8%AD%AF%E5%92%8C%E9%83%A8%E7%BD%B2%E5%90%88%E7%B4%84%E7%9A%84%E7%AC%AC%E4%B8%80%E7%A8%AE%E5%A7%BF%E5%8B%A2-%E4%BD%BF%E7%94%A8-remix-4528164d0fde Author: Anderson This article is originally in Traditional Chinese and has been converted to Simplified Chinese for reading purposes. Thank you to my friends in the Taiwanese community. You might also like: Practical combat | Coach, I "only" want to learn Solidity Dry information | Understanding ERC-20 token contract Dry information | Ethereum smart service for token payment |

|

|

|

|

|
违法和不良信息举报电话:010-6688xxxx | 举报邮箱:jubao@huoxing.com | 网上有害信息举报
xxx网络有限公司 | 粤公网安备 46902302000xxx号 | ©2021 Discuz Team. Powered by Discuz!